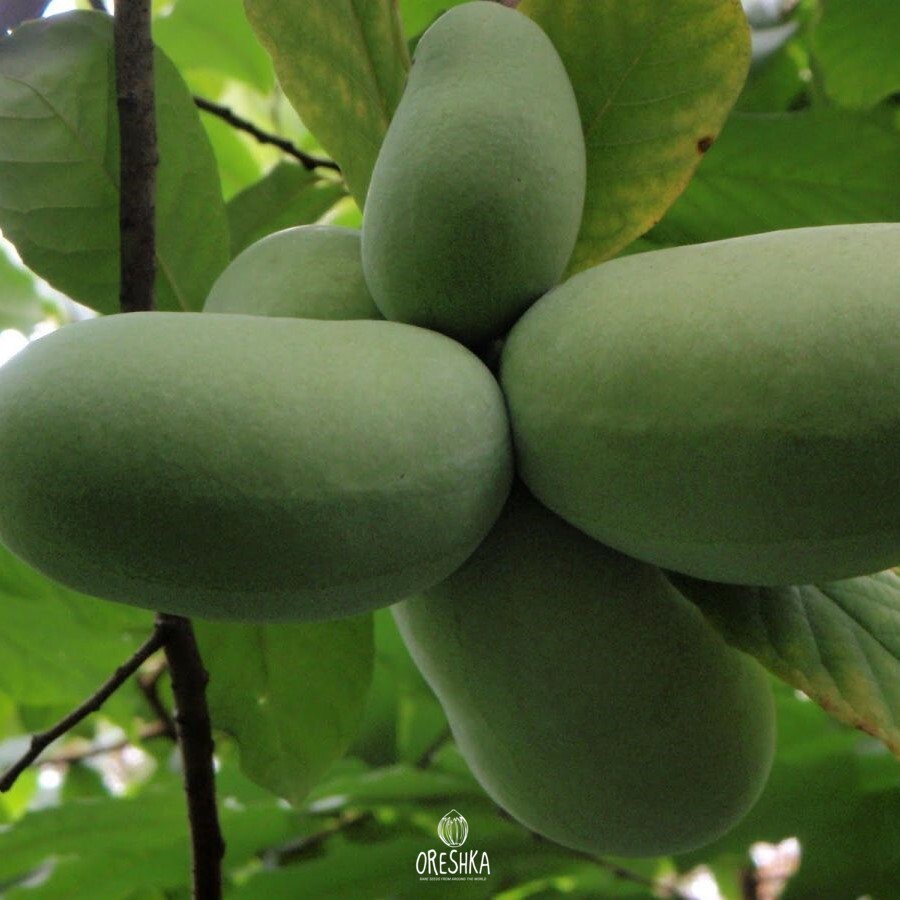

How to Grow Pawpaw (Asimina triloba) from Seed
Keep pawpaw seed moist, complete cold stratification and protect the long taproot from the first pot onward.
Growing American pawpaw (Asimina triloba) from seed is reliable when each biological stage receives the right conditions. This guide separates preparation, germination and seedling care so that you can diagnose problems instead of guessing.
Successful seed raising is mostly a matter of controlling the seed zone rather than following the calendar blindly. Temperature refers to the growing medium, not merely the room, and moisture means an aerated mix that holds water without excluding oxygen. Record the sowing date, treatment and first emergence. Those notes make it possible to distinguish a slow biological process from a setup that truly needs correction.
Work cleanly: wash reusable containers, use fresh propagation mix and isolate any collapsed or mouldy seedling. A clear cover can stabilize humidity before emergence, but it must be ventilated and removed progressively after shoots appear. Labels should include the plant, batch and date; memory becomes unreliable once several trays are moving at different speeds.
What you need before sowing
Core equipment
- Fresh, correctly labelled seed
- Clean containers with drainage
- Airy seed-starting medium
- A thermometer at medium level
- Bright grow light or suitable daylight
- Labels and a dated growing record
Crop-specific checkpoint
For dependable fruit production, plan space for genetically different trees because pawpaw flowers normally benefit from cross-pollination.
Prepare the whole setup before wetting the seed. This prevents an improvised change of container, depth or temperature halfway through the most sensitive stage.
How to grow American pawpaw (Asimina triloba) in 8 steps
1Prepare seed and equipment
Never allow pawpaw seed to dry. Place cleaned seed in moist sphagnum or another clean, aerated medium before refrigeration.
Apply this condition consistently across the tray. Large differences between cells usually come from uneven depth, contact with the mix, heat or watering—not from the calendar alone.
2Set the temperature
Cold-stratify at 2–7°C (36–45°F) for 60–100 days, then germinate warm at about 24–27°C (75–81°F).
Apply this condition consistently across the tray. Large differences between cells usually come from uneven depth, contact with the mix, heat or watering—not from the calendar alone.
3Sow at the correct depth
After chilling, soak for about 24 hours and sow 2–2.5 cm (about 1 inch) deep.
Apply this condition consistently across the tray. Large differences between cells usually come from uneven depth, contact with the mix, heat or watering—not from the calendar alone.
4Manage the waiting period
A root may germinate within a few weeks, while the shoot commonly appears much later—around two months—so do not excavate the pot.
Observe the plants before intervening. Healthy progress is more useful than forcing a fixed date, and small adjustments are safer than sudden changes in heat, light or moisture.
5Introduce light
Give first-year seedlings shade or bright filtered light; increase sun gradually as plants establish.
Observe the plants before intervening. Healthy progress is more useful than forcing a fixed date, and small adjustments are safer than sudden changes in heat, light or moisture.
6Control moisture and airflow
Keep the medium evenly moist throughout stratification and germination. Drying can reduce viability, while stagnant saturation limits oxygen.
Observe the plants before intervening. Healthy progress is more useful than forcing a fixed date, and small adjustments are safer than sudden changes in heat, light or moisture.
7Transplant without a setback
Use a deep container, about 25–45 cm tall, to accommodate the taproot. Transplant with the root ball intact.
Observe the plants before intervening. Healthy progress is more useful than forcing a fixed date, and small adjustments are safer than sudden changes in heat, light or moisture.
8Build the mature plant
Choose fertile, well-drained soil around pH 5.5–7.0. Young plants benefit from shelter; older trees need adequate light to crop well.
Observe the plants before intervening. Healthy progress is more useful than forcing a fixed date, and small adjustments are safer than sudden changes in heat, light or moisture.
How to read the seedling instead of the calendar
A seedling communicates through proportion and colour. A long, pale stem leaning toward one side usually asks for stronger or more evenly distributed light. A compact seedling that has stopped expanding may be cold, root-bound or waiting for the next normal growth stage. Soft tissue at the soil line points toward excess moisture, poor airflow or contaminated mix and should be isolated quickly. Dry, crisp margins call for a check of heat, root moisture and the speed at which conditions changed.
Judge several plants, not one outlier. In a batch of American pawpaw (Asimina triloba), natural variation is expected, especially when seed is open-pollinated or collected from genetically diverse plants. A single late seed does not prove that the whole tray is cold, and one unusually fast seedling is not a reason to feed every cell. Use the average response of the batch and change one variable at a time.
Fertilizer is not a germination treatment. Seedlings initially draw on reserves stored in the seed; once true leaves are functioning, a dilute balanced feed may be useful if the medium contains little nutrition. Apply it to already moist mix and watch the next several days before repeating. Pale growth can also come from cold roots, saturated mix or insufficient light, so adding more fertilizer without diagnosis may increase salt stress.
Before transplanting, inspect the root ball rather than pulling on the stem. White or light-coloured active roots and a cohesive but not tightly circling root system indicate a workable moment. Water in advance so the mix holds together, move the plant at the appropriate stage described below and protect it from abrupt sun, wind and temperature changes while it re-establishes.
Common problems and how to correct them
1. Confusing pawpaw with papaya
Check this variable first, then correct it gradually. Do not combine extra heat, extra water and fertilizer as a single rescue treatment; that makes the cause harder to identify and can add stress.
2. Letting seed dry in storage
Check this variable first, then correct it gradually. Do not combine extra heat, extra water and fertilizer as a single rescue treatment; that makes the cause harder to identify and can add stress.
3. Using a shallow pot
Check this variable first, then correct it gradually. Do not combine extra heat, extra water and fertilizer as a single rescue treatment; that makes the cause harder to identify and can add stress.
4. Assuming delayed shoot emergence means failure
Check this variable first, then correct it gradually. Do not combine extra heat, extra water and fertilizer as a single rescue treatment; that makes the cause harder to identify and can add stress.
5. Placing a tender first-year seedling in exposed full sun
Check this variable first, then correct it gradually. Do not combine extra heat, extra water and fertilizer as a single rescue treatment; that makes the cause harder to identify and can add stress.
Never judge a woody or slow-germinating batch by the timetable of tomatoes or squash. Conversely, do not leave a warm-season vegetable tray wet for weeks merely because a dormant tree seed requires patience. The plant-specific schedule above is the decision point.