How to Grow Lingonberry from Seed
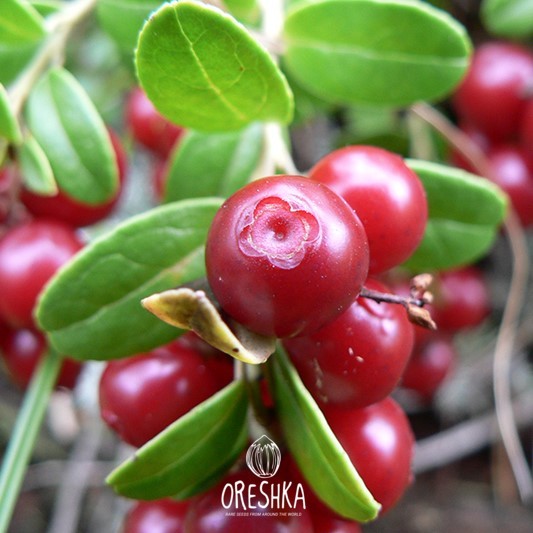
Cold stratification, acidic substrate, and Zone 3 hardiness — the slightly easier sibling of cloudberry.


Rubus chamaemorus grows only in Arctic peat bogs and subarctic tundra. With correct double dormancy technique and strongly acidic sphagnum substrate, you can raise this rare Nordic berry from seed in USDA Zone 2–5 gardens.
Rubus chamaemorus — cloudberry, bakeapple, knotberry, or moroshka — grows across the circumpolar peat bogs and tundra of Scandinavia, Russia, and northern Canada. Its amber drupelets are briefly available each summer in speciality Scandinavian markets, where they command prices above most soft fruits. In most of the world, the only way to taste them is to grow your own.
Cloudberry is dioecious: male and female flowers grow on separate plants. A solitary plant produces no fruit regardless of age or health. For any harvest, you need at least 2 plants — one of each sex — and most growers start 4–6 to guarantee both genders are represented from seed.
Growing cloudberry from seed is a long-term project. The seeds require two separate dormancy phases before germination will begin — a warm pre-treatment at 18–22°C followed by a cold stratification at 2–4°C, each lasting 60–90 days. This double dormancy reflects the plant's native climate, where seeds overwinter in frozen peat then experience a thaw before emerging in spring. Once germination begins, cloudberry grows slowly but steadily through its first 3–5 years before producing its first flowers.
Seeds sourced from verified wild populations across the Ural mountains and Arkhangelsk region, Russia. Harvested and processed at peak ripeness for maximum viability. Germination batch-tested before each season. About our collection →
The cloudberry plant itself is remarkably cold-hardy — established plants survive temperatures down to −45°C and are reliably perennial throughout USDA Zone 2–5. The challenge is not maintaining the adult plant but navigating the slow, demanding journey from seed to a fruiting colony.
Growing cloudberry from seed is a multi-year process. Here is what you will encounter at each stage.
Seeds are placed on moist sphagnum peat at 18–22°C for 60–90 days. No visible change occurs — internal biochemical processes are breaking the first dormancy layer. Maintain consistent moisture without waterlogging throughout this period.
Move the seed tray to a refrigerator or unheated space at 2–4°C for another 60–90 days. This simulates the Arctic winter. After this cold phase, transfer back to a cool location (10–16°C) and germination typically begins within 2–4 weeks.
Germination is uneven — expect a spread over 2–4 weeks. Seedlings are tiny, with two narrow cotyledons. Keep the surface of the peat consistently moist and avoid any direct sun on the trays at this stage.
First-year seedlings are fragile. Pot up individually into 9 cm pots of sphagnum peat once the second true leaf is visible. Keep them in a cool, partially shaded position outdoors from late spring. No flowers will appear in year 1.
Cloudberry spreads slowly via underground rhizomes, reaching 10–25 cm in height. By year 2–3 you should see vigorous foliage growth. Plants can be moved to their permanent position in the garden or a large container. Some plants may produce their first flowers in year 3.
With both male and female plants present, pollination occurs in late spring and the distinctive amber berries ripen in mid to late summer. Each stem produces one berry. A mature patch of 6–10 plants may yield 20–60 berries in a productive season.
Cloudberry is not forgiving of substrate shortcuts. Each item below affects germination and seedling survival.
Pure sphagnum peat, pH 3.5–5.0. Standard potting compost and general-purpose peat are too alkaline and will prevent germination. Source from specialist aquatics or bog garden suppliers.
5–8 cm depth is sufficient for the stratification and germination phases. Ensure drainage holes are present. Small trays fit easily in a refrigerator during the cold phase.
Maintains 80–90% humidity during germination. Critical for the tiny cloudberry seedlings, which dry out very quickly in open-air conditions.
Tap water in most regions has pH 7–8, which will gradually raise substrate pH above cloudberry's tolerance. Collect rainwater or use distilled water throughout the entire growing process.
With a 4–6 month stratification cycle, accurate records are essential. Note the date each phase begins to avoid over- or under-stratification.
Post-germination, cloudberry seedlings prefer 10–18°C. A north-facing windowsill, unheated greenhouse, or shaded cold frame is ideal. Avoid positions above 22°C during the seedling phase.
Fill a shallow tray (5–8 cm deep) with pure sphagnum peat moss. Test pH if possible — it should read 3.5–5.0. Moisten thoroughly with rainwater until the peat is uniformly damp but not waterlogged. Allow excess water to drain before sowing.
Scatter cloudberry seeds evenly across the moist peat surface. Do not cover with additional substrate — cloudberry seeds require light for germination. Space seeds approximately 1–2 cm apart to give each seedling room. Cover the tray with a propagation dome or clear plastic film to retain humidity.
Place the covered tray in a warm location — a heated room or propagator at 18–22°C. Maintain this temperature consistently for 60–90 days. No germination is expected at this stage; the warmth is breaking the first layer of physiological dormancy. Check moisture every 7–10 days and mist with rainwater if the peat surface begins to dry.
After the warm phase, transfer the tray to a refrigerator set at 2–4°C. Keep the cover in place to maintain humidity. This cold phase simulates an Arctic winter and breaks the second dormancy layer. Maintain for 60–90 days. Check moisture monthly — peat should remain damp but never dry.
After cold stratification, move the tray to a cool location at 10–16°C with indirect light. This temperature range corresponds to the Arctic spring conditions the plant expects. Keep the cover on initially to maintain humidity. First seedlings typically appear within 2–4 weeks of completing the cold phase.
Cloudberry seedlings emerge with two narrow cotyledons and are very small — only 2–3 mm across. Once the majority have germinated, begin ventilating the tray by propping the cover slightly for 1–2 hours per day, gradually increasing airflow over 7–10 days. Water with a fine mist of rainwater when the peat surface begins to dry. Avoid disturbing the seedlings — their root systems are fragile at this stage.
When seedlings produce their second true leaf — typically 4–6 weeks after germination — pot them individually into 9 cm containers filled with sphagnum peat. Handle seedlings by their leaves, never by the stem. Place pots in a cool, partially shaded outdoor location from late spring. Water with rainwater throughout the first season and avoid fertilising — cloudberry is adapted to nutrient-poor boggy soils and does not need enrichment.
Live sphagnum moss (available from aquarists and bog garden nurseries) maintains pH 3.5–4.5 naturally through its own chemistry. Laying a thin layer on top of dried sphagnum peat creates a self-regulating micro-environment that is significantly more forgiving than dried peat alone — moisture is held evenly and fungal issues are suppressed.
Cloudberry sex ratio from seed is approximately 1:1, but with a small number of seeds you may get all one sex. Growing 4–6 plants gives a statistically high probability of obtaining at least one male and one female. Plants flower from year 3 onward — once flowers appear, sex can be confirmed and excess same-sex plants removed.
In most regions, tap water has pH 7–8. Even soft tap water, used consistently over weeks, will push substrate pH above 6.0. Cloudberry begins to show chlorosis (yellowing leaves) at pH above 5.5. Store rainwater in a closed barrel and use exclusively for watering. For areas with no rainfall, use food-grade distilled water.
Cloudberry is a perennial that requires a genuine cold rest period of at least 10–12 weeks below 7°C annually. Container plants in mild climates should be moved to an unheated garage, shed, or cold frame for winter. Without adequate dormancy, plants produce weak growth and rarely flower the following season.
Comparing Rubus chamaemorus with the two most commonly grown alternatives from the same cold-climate berry category.
| Feature | Rubus chamaemorus Cloudberry | Vaccinium vitis-idaea Lingonberry / Cowberry | Rubus arcticus Arctic Raspberry |
|---|---|---|---|
| USDA Hardiness Zone | Zone 2–5 (−45°C) | Zone 3–7 (−40°C) | Zone 2–5 (−45°C) |
| Plant height at maturity | 10–25 cm | 10–40 cm | 20–40 cm |
| Germination difficulty | Advanced — double dormancy, 4–6 months | Intermediate — cold stratification, 30–60 days | Advanced — double dormancy, 3–5 months |
| Substrate pH | 3.5–5.0 (sphagnum peat required) | 4.5–6.0 (acidic, more flexible) | 4.0–5.5 (peat-based) |
| Pollination requirement | Dioecious — needs both sexes | Self-fertile — single plant fruits | Mostly self-fertile |
| Time to first fruit from seed | 4–6 years | 2–3 years | 3–5 years |
The most common cause of total failure. Many online guides recommend cold stratification alone (4°C for 30–60 days) — this works for lingonberry and some other Rubus species, but not for R. chamaemorus. Cloudberry's double dormancy requires the warm phase first. Skipping it means seeds remain fully dormant regardless of how long you refrigerate them.
General-purpose compost and enriched potting mixes have pH 6–7 and contain fertilisers that cloudberry cannot tolerate. Even so-called "ericaceous" composts are often pH 4.5–5.5 — tolerable but not optimal. Pure sphagnum peat at pH 3.5–5.0 is the correct substrate. If in doubt, test pH with a basic soil pH meter before sowing.
Tap water in most European and North American regions has pH 7–8. Even low volumes applied repeatedly will raise substrate pH above cloudberry's tolerance within weeks. Symptoms are chlorotic (yellowing) leaves and stalled growth. Switch to rainwater or distilled water at the first sign of yellowing — and flush the pot several times with acidic water to lower pH back below 5.0.
Cloudberry is dioecious. A single plant, regardless of size or health, cannot produce fruit. Many growers discover this only after 3–4 years when their sole plant flowers but never fruits. Always start at least 4–6 seeds to ensure both male and female plants are represented.
Garden soils outside of naturally boggy or moorland areas are rarely acidic enough. Most UK and European garden soils are pH 6–7. Transplanting cloudberry directly into garden beds without creating a dedicated bog pocket (a sunken peat-lined planting area) results in rapid chlorosis and slow decline. Build a contained growing area with a sphagnum peat mix before transplanting established plants.
Cause: The warm pre-treatment phase was too short, too cool, or skipped entirely. Incomplete warm stratification means the first dormancy layer was not broken, so the cold phase has no effect.
Fix: If seeds have been cold-stratified for 60–90 days with no result, move them back to 18–22°C for 4–6 weeks and then refrigerate again for another 60 days. Some seeds require two complete double cycles before germinating.
Cause: Usually a pH problem (substrate too alkaline) or fungal damping off from poor ventilation and excess moisture. Both present similarly with yellowing and stem collapse at soil level.
Fix: Test substrate pH — if above 5.5, flush with rainwater acidified with a few drops of white vinegar to bring it back below 5.0. If damping off is suspected, remove collapsed seedlings immediately, improve airflow, and reduce watering frequency. A thin layer of live sphagnum on the surface has natural antifungal properties.
Cause: Either the plants are all the same sex (cannot confirm without flowering), they are not receiving adequate winter dormancy (at least 10 weeks below 7°C), or they are in too nutrient-rich a substrate which promotes foliage at the expense of flowering.
Fix: Ensure plants experience genuine cold dormancy each winter. Container plants in mild climates (below 400 m altitude in UK/Northern Europe) should be moved to an unheated structure from October to March. Remove any compost that was added and replace with pure sphagnum peat.
Cause: All plants flowering are the same sex, or pollinating insects did not visit during the brief 7–10 day flowering window, or a late frost damaged the open flowers.
Fix: Examine flowers — male flowers have prominent yellow stamens with no developing fruit; female flowers have a central green ovary. If all plants are one sex, propagate from any wild or nursery source of the other. For frost-prone sites, cover flowering plants with a single layer of horticultural fleece during late frosts in April–May.
Available from Oreshka Seeds — sealed moisture-proof packets, worldwide shipping within 2–3 business days.
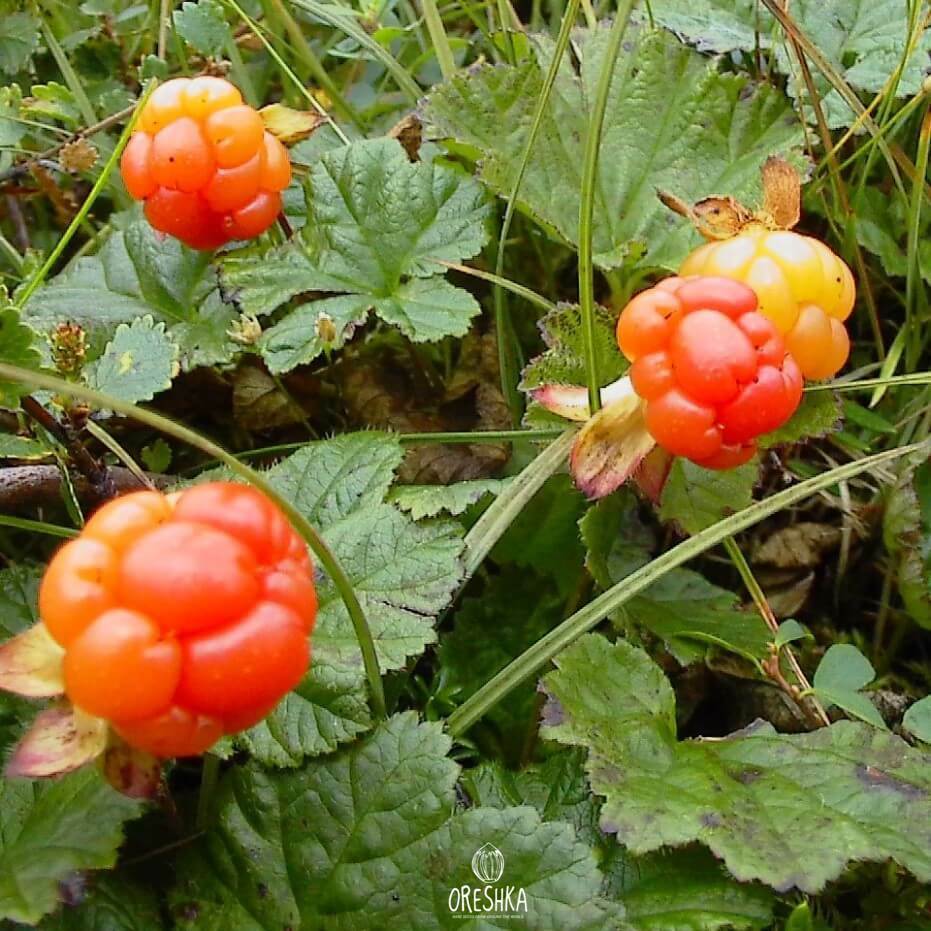
This guide covers the complete process of growing Rubus chamaemorus (cloudberry) from seed: double dormancy stratification, sphagnum peat substrate preparation, germination at 10–16°C, seedling care, and outdoor establishment over 3–5 years to first fruit.
Growing cloudberry from seed takes 3–5 years to first fruit, whereas a transplant may fruit within 1–2 years. However, certified cloudberry transplants are extremely scarce outside Scandinavia — seed is the only practical option for most gardeners worldwide. Growing from seed also allows you to raise multiple plants to ensure both sexes are represented.
Cloudberry is rated Advanced difficulty. The main challenge is the double dormancy cycle, which requires 60–90 days of warm treatment at 18–22°C followed by 60–90 days of cold stratification at 2–4°C before germination will begin. Maintaining the correct strongly acidic substrate (pH 3.5–5.0) and watering with rainwater only adds further complexity compared to most other berry species.
Incomplete dormancy-breaking is the most frequent cause. Cloudberry requires two separate dormancy cycles — warm at 18–22°C and cold at 2–4°C — each lasting 60–90 days. Single cold stratification alone, sufficient for many other Rubus species, is not enough for R. chamaemorus. The second most common cause is substrate pH above 5.5, which inhibits germination even when stratification has been completed correctly.
From initial sowing, germination alone takes 4–6 months. Seedlings then require 2–4 growing seasons before producing flowers. Since cloudberry is dioecious and needs at least one male and one female plant, the first reliable harvest typically comes 4–6 years after sowing. Patience is the defining requirement for this species — but established plants are fully perennial and productive for decades.
Yes, in large containers with a minimum diameter of 30 cm filled with sphagnum peat at pH 3.5–5.0. Use only rainwater or distilled water — tap water in most regions raises soil pH above cloudberry's tolerance within weeks. Container plants need at least 10–12 weeks below 7°C annually for winter dormancy; move pots to an unheated structure from October to March in milder climates.
Cloudberry seeds (Rubus chamaemorus, SKU P90) are available at oreshka-seeds.com. Each pack contains 5 seeds, priced at €5.00. Seeds are sealed in moisture-proof packets and dispatched within 2–3 business days with worldwide shipping.
FRUIT Cold stratification, acidic substrate, and Zone 3 hardiness — the slightly easier sibling of cloudberry.
 FRUIT
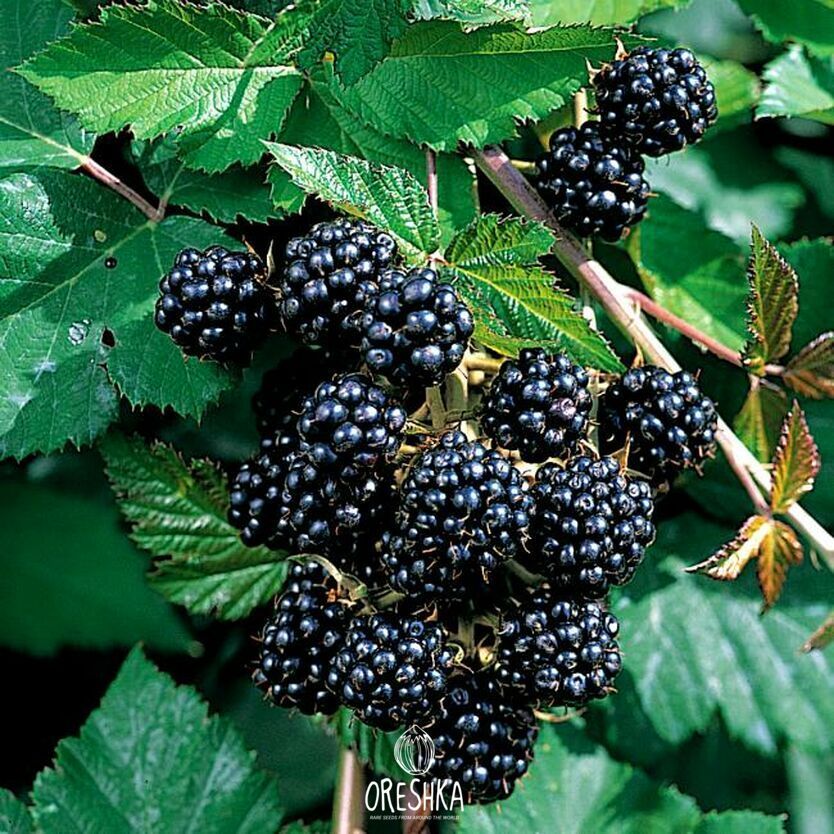
FRUIT Hardy Rubus from seed — cold stratification requirements, trellis setup, and first-year pruning guide.
 FRUIT
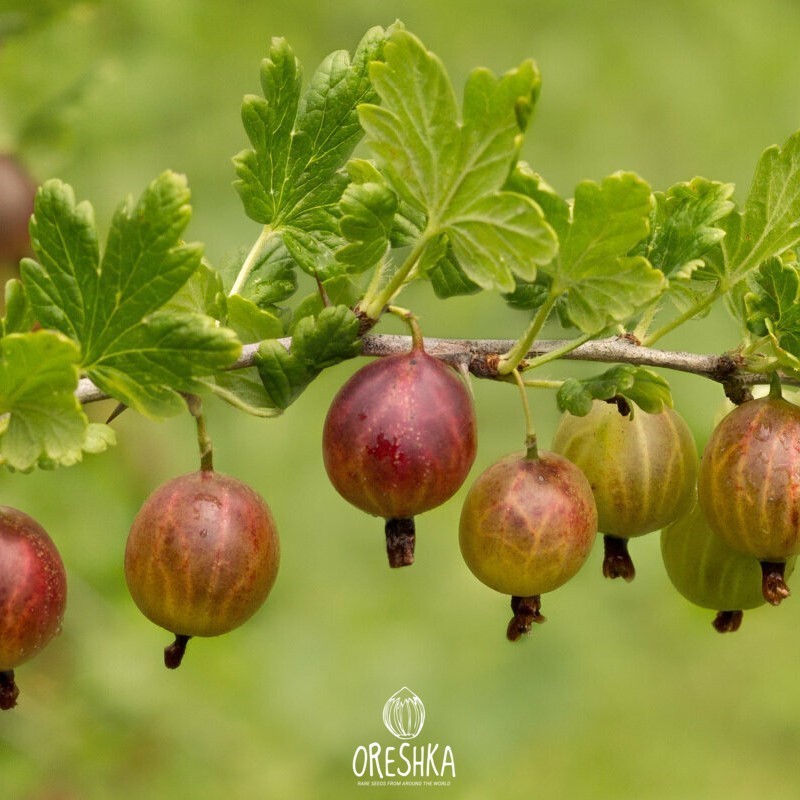
FRUIT Ribes uva-crispa from seed — stratification, spacing, and the difference between seeded and vegetative propagation.
5 seeds per pack · Zone 2–5 hardy · Sealed moisture-proof packets · Worldwide shipping
Shop Cloudberry Seeds →oreshka-seeds.com · Sealed packets · 2–3 day dispatch